


A quick and dirty guide to shooting super 8
from someone who wasn’t alive when any of this technology came out and should not be writing a how to article on shooting with film.

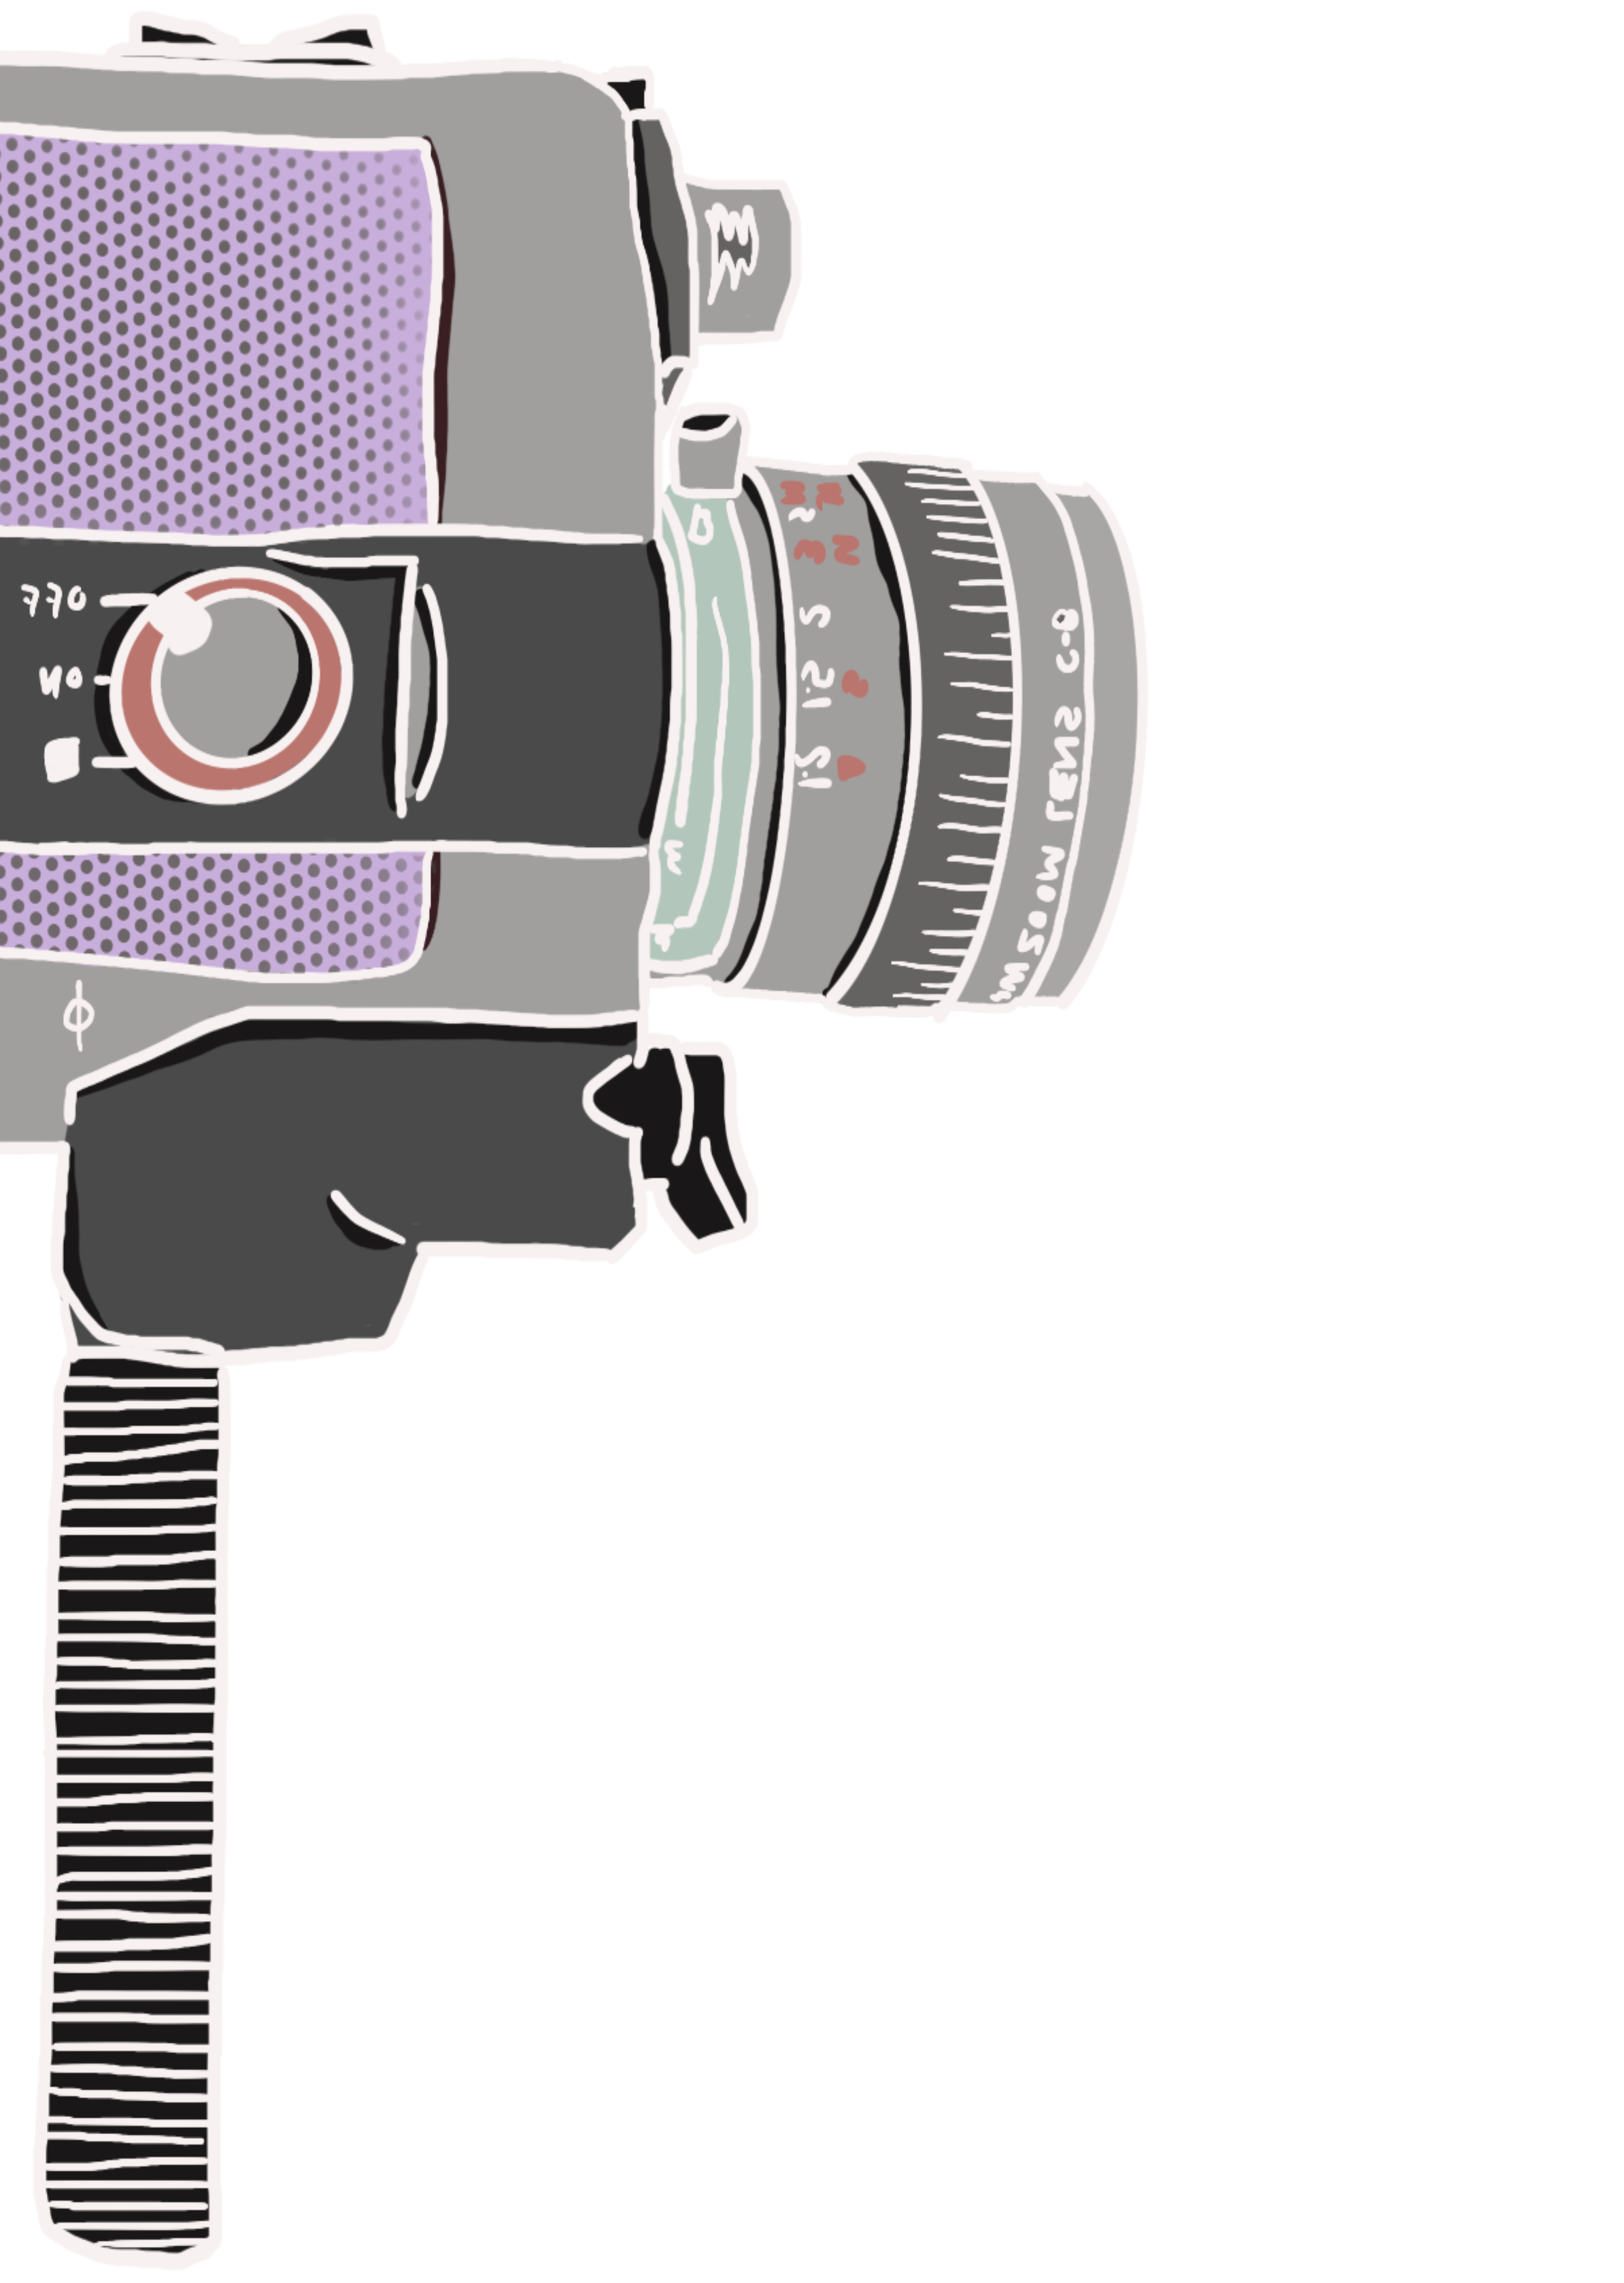
The world of super 8 is a pretty confusing world to dive into, and to be honest I never feel like an expert in anything because I just figured out how to get to an end point. This is not meant as a guide to all things super 8, it’s the path I took entering into this fun little pastime. I’m assuming you’re a professional visual something or other because this is an obscure space to get into, so I won’t mince words or processes. I like the canon series of cameras, you can either get one that’s been tested or try to find the diamond in the rough. Check out eBay, there’s a lot of Japanese sellers with great cameras that aren’t great deals but tend to be great cameras. I like the canon 310XL which is super basic, but very light and dependable, or its big brother the 514xl which offers a few more bells and whistles, but if you stumble across one here’s how to check it out.
Besides running film through a camera and developing/scanning it, which is a bit of a commitment, there’s a pretty straightforward way of making sure any camera functions to some degree. Open the film door and spot the drive wheel which is in the center. This is the wheel which spins the film cartridge. Press the trigger and watch the wheel spin, if that works it means film will be able to advance.


Next check the viewfinder and make sure the shutter is opening, this will look like a flashing small window. Sweet, the film is being exposed. Now point your camera at the sky and press the shutter, there should be some sort of visual warning in the viewfinder that things are being exposed. If that’s there, the film is rolling, being exposed, and the camera is monitoring the exposure to a functioning degree. Congrats, you have a camera and not a doorstop.
If any of these things aren’t working when there are batteries in the camera, you have a problem. These are manual, simple machines that can break pretty easily. The models that I know of work without film in them, so you can check a camera with batteries alone.
I tend to use one of four different film stocks, depending on the situation. All the film types are pretty pliable, you don’t have to stress too much about lighting situations or color casts. Put simply it wants to work, though each does have a specific strength. All of these are Kodak.
200T: This is a 200 ISO tungsten balanced film. Great for all around use, and the blue cast during daylight can be color corrected in post. This is the film in my camera most of the time.
500T: same as the above just a higher ISO of 500. Only really use this at night, if you’re a wedding person this is the film you’ll want for receptions.
50D: this is a low ISO film balanced for daylight. It’s the film I use the least, just because you’ve gotta have a decent light source for it to expose correctly. Great for those bright daytimes where other films will be overexposed, terrible for everything else.
Tri-X Reversal Film: Classic black and white film. Can’t mess it up easily, though it’s not great under bright midday light.
There’s a few different routes to go when buying film. You can go through services that are all inclusive, like pro8mm, where you buy the film, processing, and scanning in one go. They’ll ship you the film and you shoot and send it back.
EZ PZ
You pay for the convenience though. I wanted cheap and high quality, which meant finding my own lab to process and scan and buying film on its own. I normally just google the kind I want and shop around, adorama and b&h are the norm. Note: Mono No Aware, google if interested.
Once you’ve got some film, throw it in your camera!

Basics of film


Don’t forget to focus! This is a completely hopeless endeavor outside of using the distance meter on your camera and hoping you aren’t inept at calculating distances. Luckily there seems to be a pretty flexible range, after all we aren’t using super 8 because it’s super sharp. If you are starting a shot zoomed in and zooming out set focus for when the lens is tight. Get used to hoping for the best. The paranoia never leaves, though if you keep focus in mind it isn’t a problem.

Once your film cartridge is exposed, it's time to send it in for developing and scanning. I really love The Negative Space. They take care of processing and scanning, I get a 6.5k overscan shot in LOG delivered 4 weeks after I send it to them. They have a few choices and different services but I’ll be coloring and cropping everything myself in post depending on the project so I want as big and washed out an image as possible.


I get the largest size scan possible and then crop it down depending on project. Since it’s such a large scan it holds up pretty well to most needs. Once I’ve got the scan I color it with whatever coloring I’m using for the project. I have a preset series of LUTs that I’m normally pulling from, past the usual color corrections that each clip gets. If I was using a tungsten balanced film I’m normally going to do a bit more color correction to fix the blue cast. From this point on it’s just like using regular footage, so the rest is up to your creative discretion!


There you go, that’s the quickest guide to super 8 you will get. Once you get going there’s a lot of things to pick up, but this will get you on your feet.